Deploying Checkmk in Kubernetes
 on Jul 12, 2021
Setting up Checkmk in Kubernetes is easy with the recent introduction of the Checkmk container registry and the sample manifests for deployment. Follow me on the path to an easy one-click deployment and update of Checkmk.
We will be deploying the Checkmk Enterprise Edition into a vanilla Kubernetes cluster on version 1.18. The steps for deploying the Checkmk Raw Edition are similar and you can even jump some steps as you don't need to set-up the pull secret to get the container image from the registry.
Prerequisites: You have a persistent volume available for Checkmk to store the data.
Disclaimer:
Running Checkmk in Kubernetes is not officially supported! This blog article only showcases, what is possible and was only tested in Vanilla Kubernetes 1.18. We recommend to seperate your monitoring infrastructure from your production infrastructure as we have a German saying: don't monitor the tree from the branch...
1. Download the manifests
First, get the manifests from our GitHub repository either by downloading them individually or cloning the repository.
You should end up with all of the files in a folder like this:
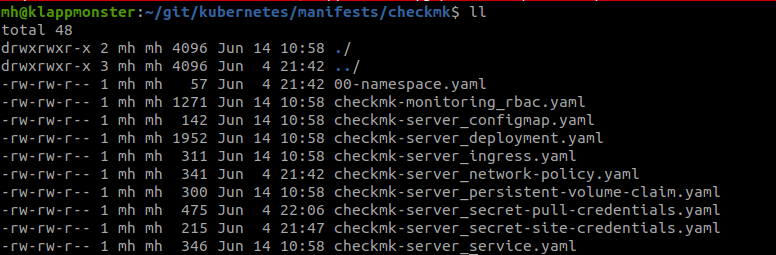
I recommend having your Kubernetes manifests in a Git and follow the GitOps approach when it comes to managing your cluster.
2. Adapt the manifests
Let's start with preparing the manifests for deploying Checkmk later. We will only focus on the manifests which you will definitely need to adapt.
However, at the end of this article, I will describe the function of each manifest.
Ingress: Make the Checkmk UI available
For the Checkmk user interface to be accessible from the outside, you need to set-up an ingress. Depending on how your cluster is set-up, this might vary.
Edit the checkmk-server_ingress.yaml
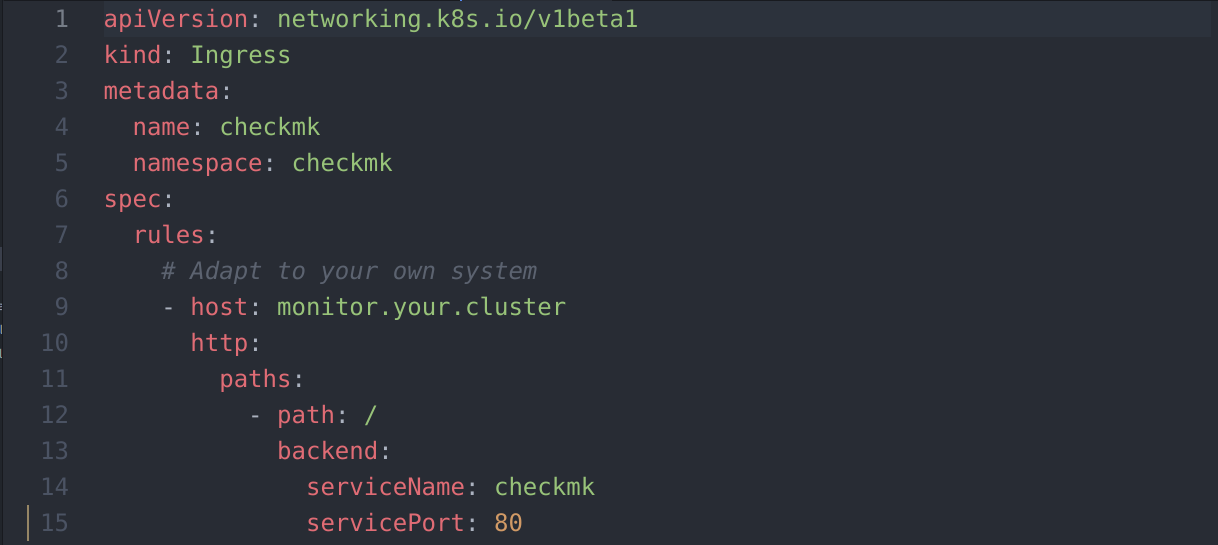
For my situation I edit line 9 to
- host: checkmk.10.199.31.20.nip.io
If you don't have an ingress set-up, simply delete this file. Checkmk will be accessible via NodePort.
Secret: Pulling Checkmk images from the registry
If you are using the Raw Edition, you can skip this step.
Next, we have to set up the pull secret, so that you can pull the Checkmk image from the official container repository. For this you require a Checkmk subscription. You can use the download credentials, which you also use to download Checkmk in general.
Use the following command to create a secret, which you will need for pulling the image.
kubectl create secret docker-registry regcred --docker-server=registry.checkmk.com --docker-username=<your-name> --docker-password=<your-pword>
The secret you can then retrieve with
kubectl get secret regcred --output=yaml

Use the string from .dockerconfigjson and add the checkmk-server_secret-pull-credentials.yaml text in line 11.

This are the minimum changes which you will need to do. Now you can deploy Checkmk.
3. Deploying Checkmk in Kubernetes
For this, you just need to perform the following command in the folder with the manifests.
kubectl apply -f .
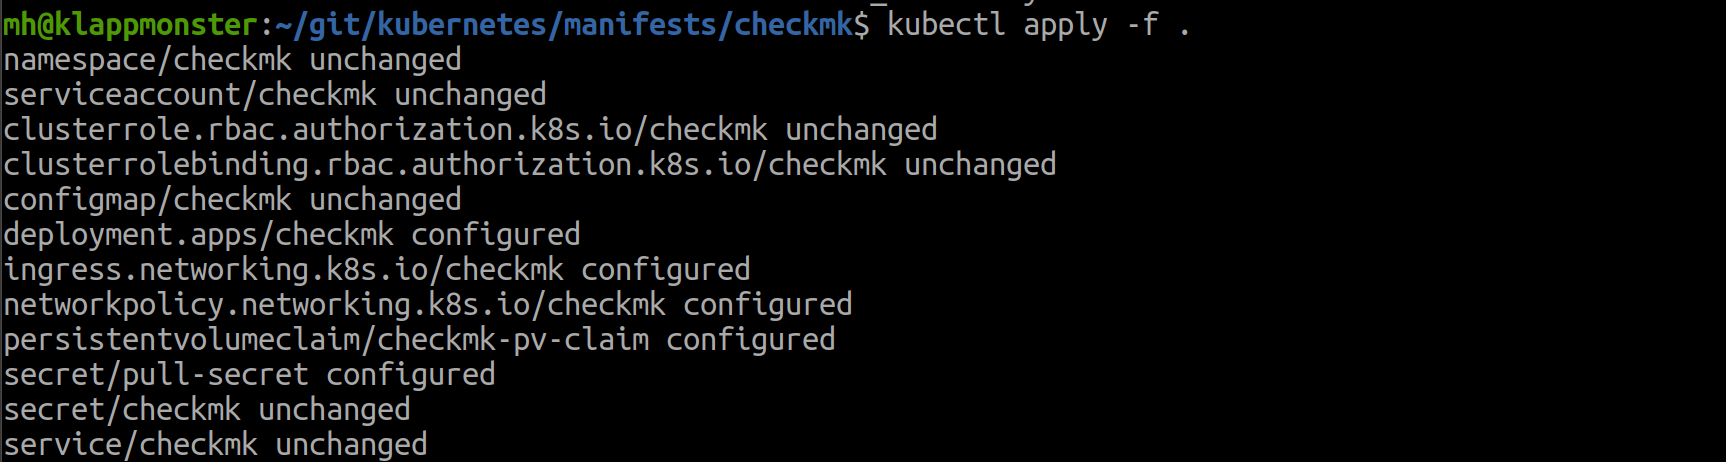
You can then check whether the Checkmk pod was succesfully spawned by using
kubectl get pods -n checkmk

That was it. Go to the URL which you have configured and you can login with the credentials, which you have just configured (or not). The default is cmkadmin // cmk
To monitor your Kubernetes cluster, you can now simply follow the instructions in our docs.
4. Optional: The other manifests
You might be wondering what the other manifests are for. An important one is the checkmk-server_deployment.yaml.

You can specify the image to be used for your Checkmk from the below list of available images.
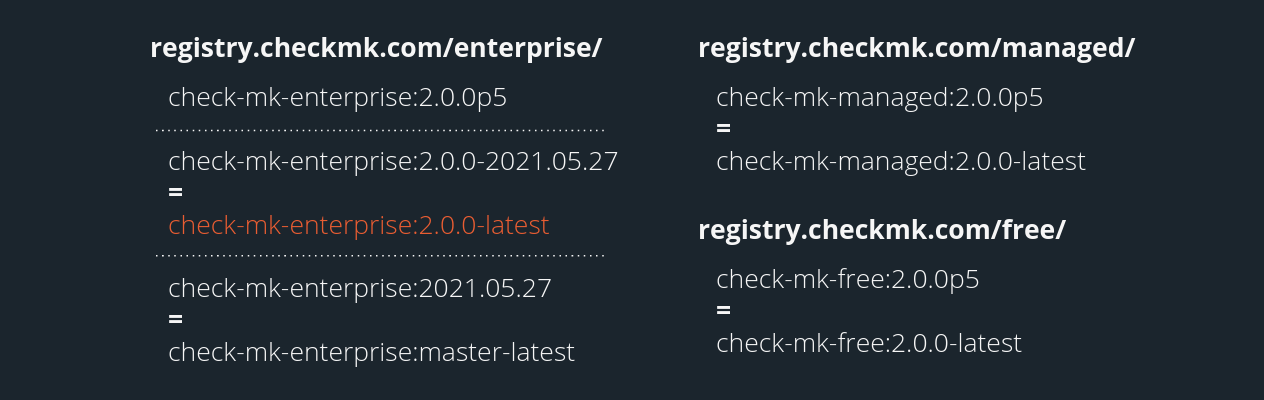
Currently check-mk-enterprise:2.0.0-latest will return the latest daily build of version 2.0.0, which is not tested for stability by us. We will change this in the future so that this tag will return the latest patch release of 2.0.0.
You can also set limits here, which we do not recommend in Checkmk, as depending on the monitoring load this can go up, especially for memory.
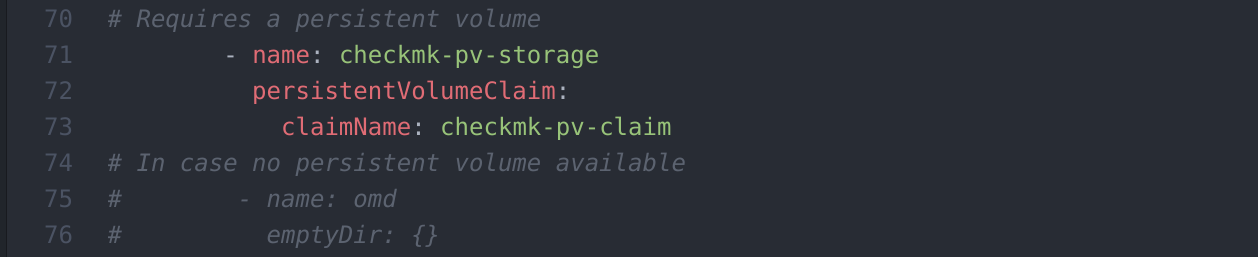
If you don't have a persistent volume in your cluster, you can use the commented lines below. This will however result in you losing the monitoring configuration and data should a crash occur.
Here is a short explanation of the other manifests.
- 00-namespace.yaml: Creates the namespace checkmk. Starts with 00 so that it is executed first. Only change this if you want to run Checkmk in another namespace. In that case you will need to change all other manifests as well.
- checkmk-monitoring_rbac.yaml: This creates a ServiceAccount, ClusterRole and ClusterRoleBinding, which are required for monitoring Kubernetes via the Kubernetes API. Ideally, don't change this.
- checkmk-server_configmap.yaml: Here you can change the name of your Checkmk site.
- checkmk-server_network-policy.yaml: This will be needed if you have a network policy in your cluster.
- checkmk-server_persistent-volume-claim.yaml: You might want to change the storageClassName and the storage here.
- checkmk-server_secret-site-credentials.yaml: This sets the default password for the Checkmk site login. Change it to your needs using the comment in the file.
- checkmk-server_service.yaml: This also enables the Checkmk site to be reached using a port on any currently working node in case you don't have an ingress. To find the port, use
kubectl get svc -n checkmk
You can use the port there to access Checkmk (should state something like 80:31859/TCP).
Have fun with trying out Checkmk in Kubernetes. It is an excellent way to also try out development branches of Checkmk for testing new features as you can quickly create and tear down instances.
If you have any ideas or comment, please contact us. Please also send us pull requests if you have any ideas for improvement. Kubernetes is changing quickly, so there is a good chance that the manifests might not work for your version. Reach out to us as well if that proves to be case.
Happy monitoring!
